Drag to orbit
06 · May–Aug 2025
Custom Keyboard
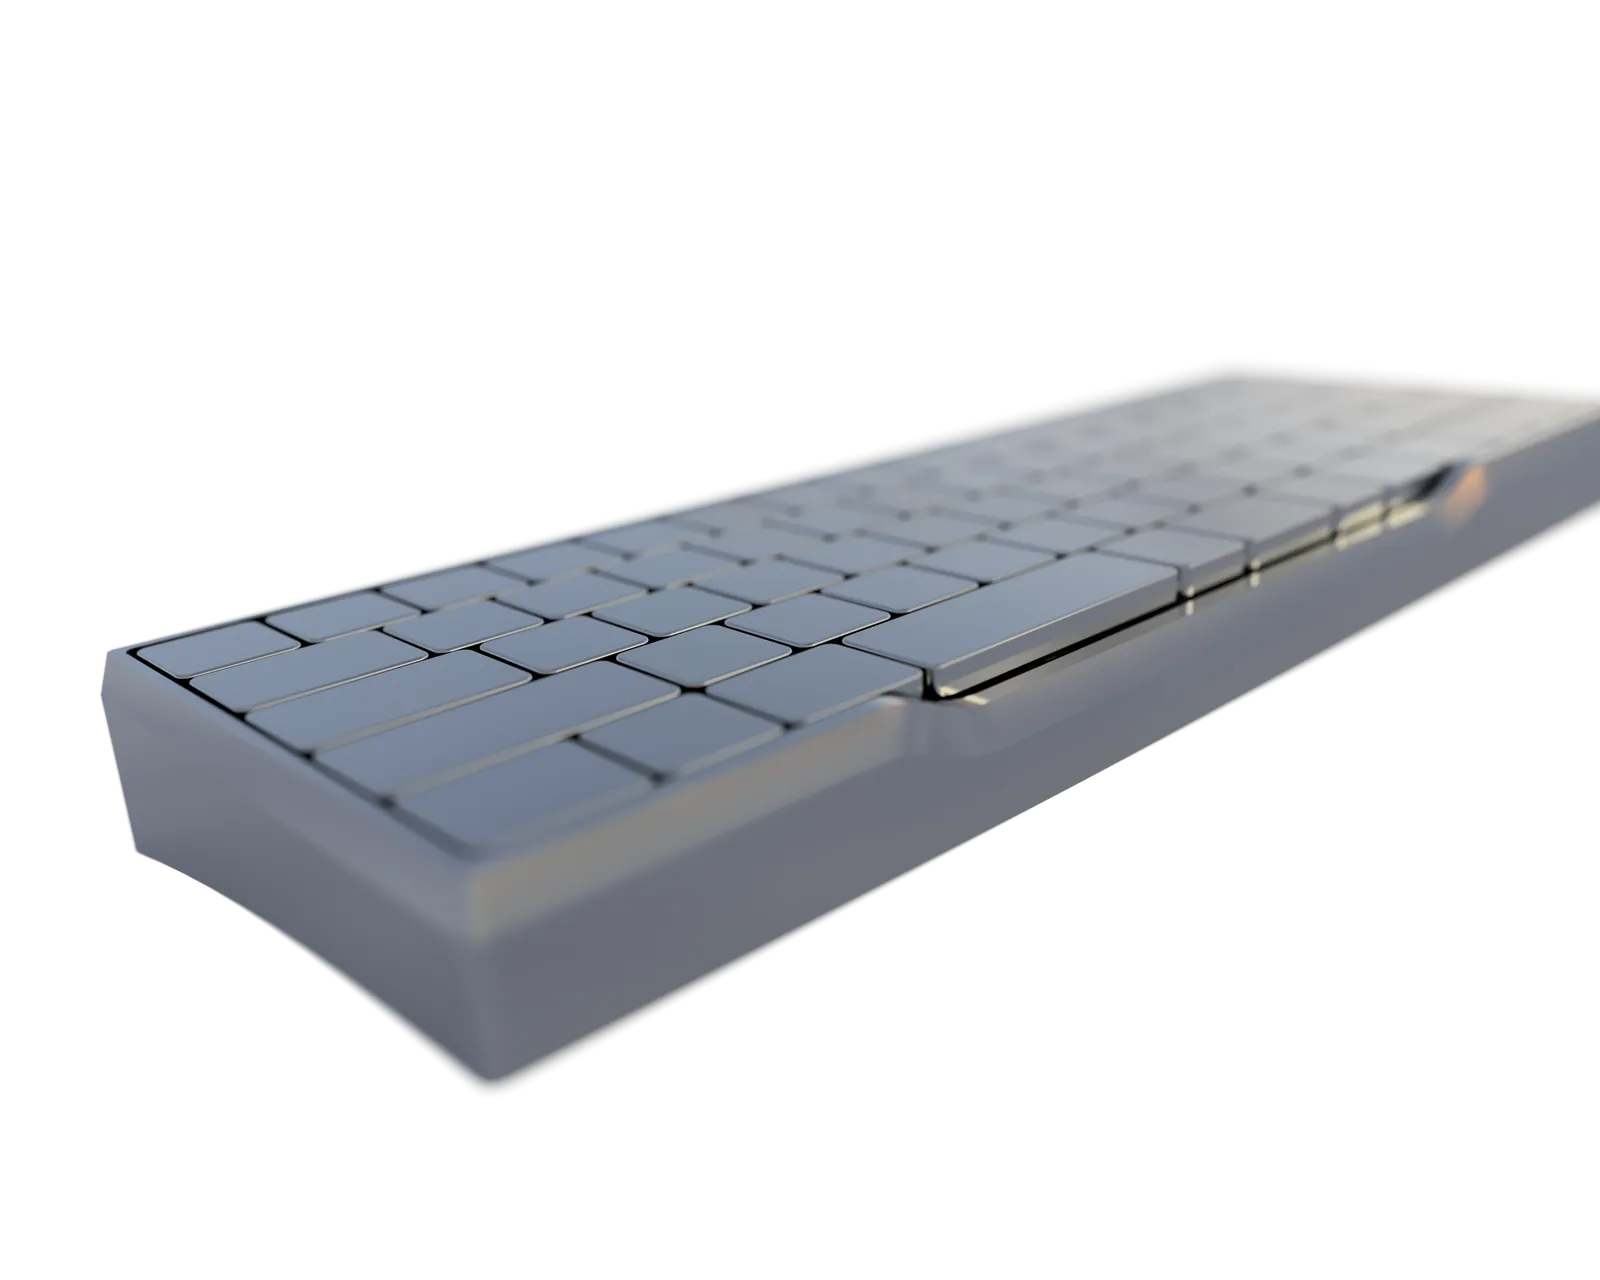
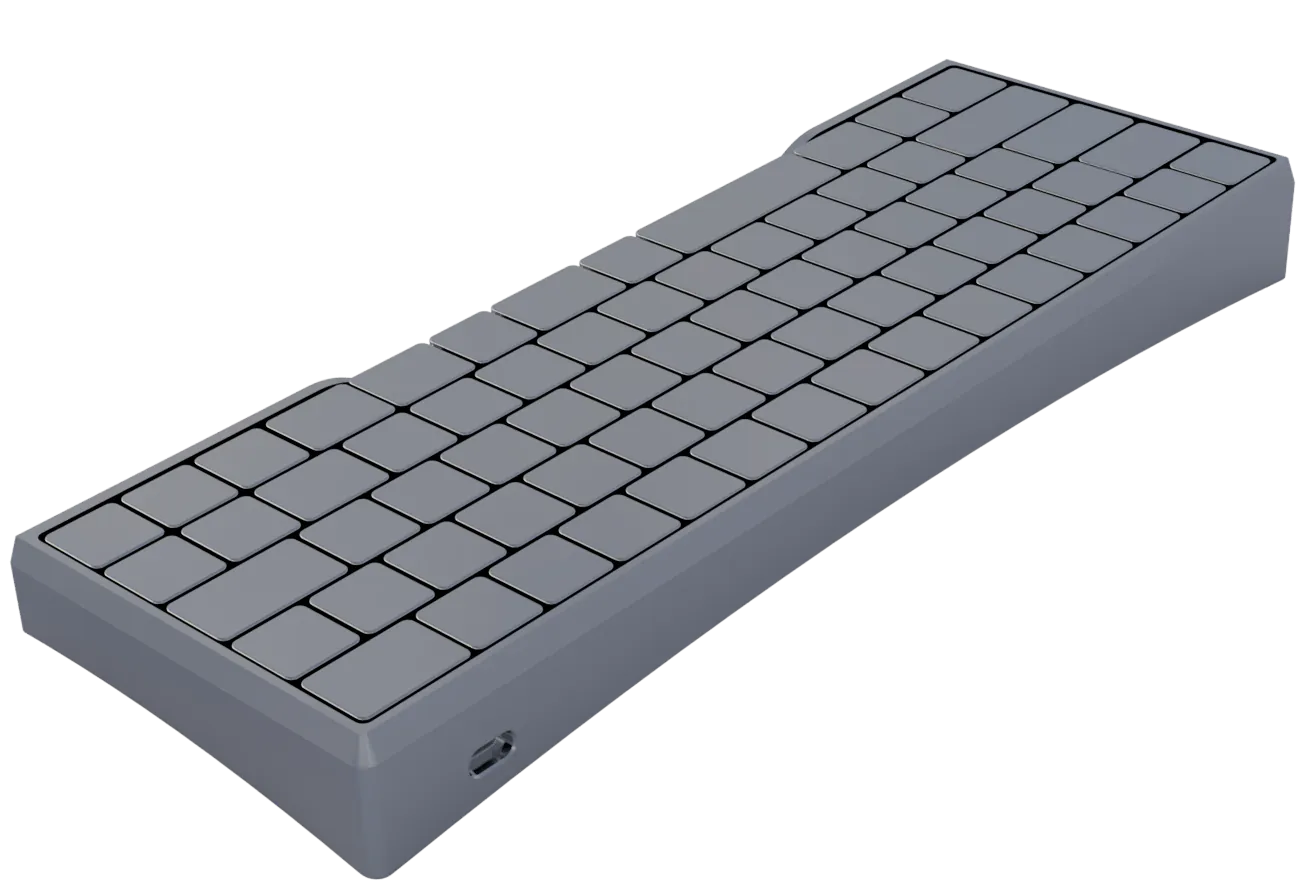
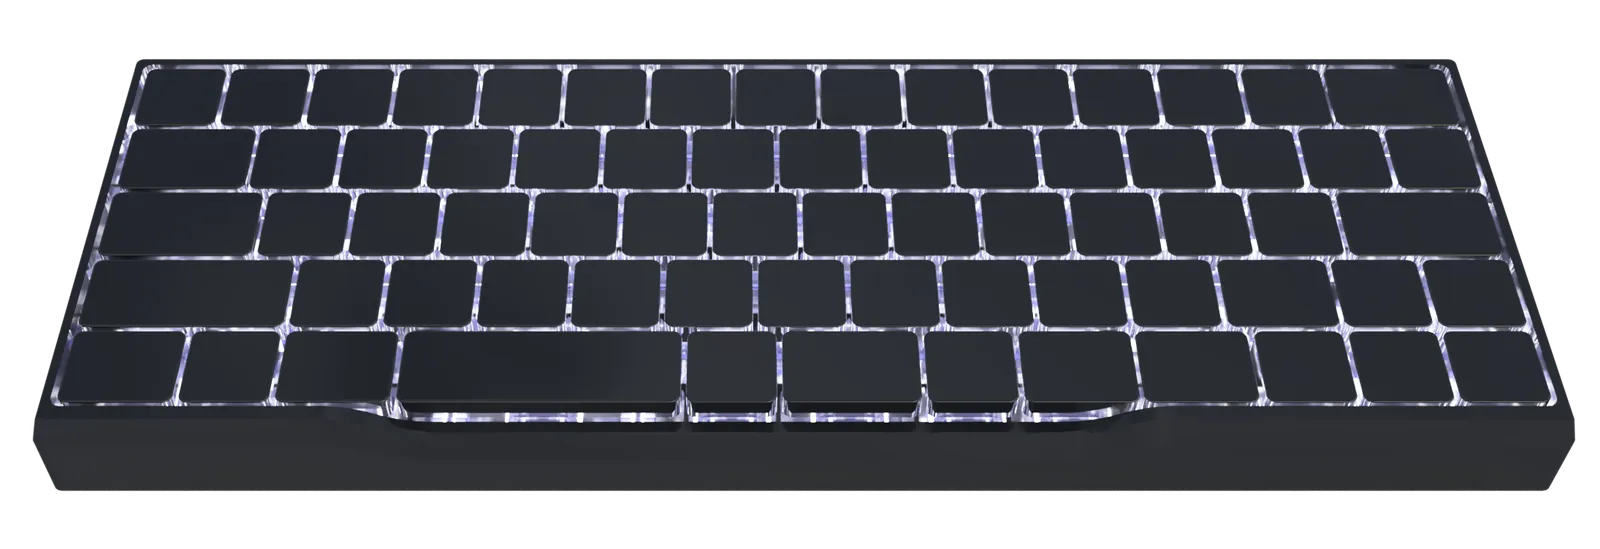
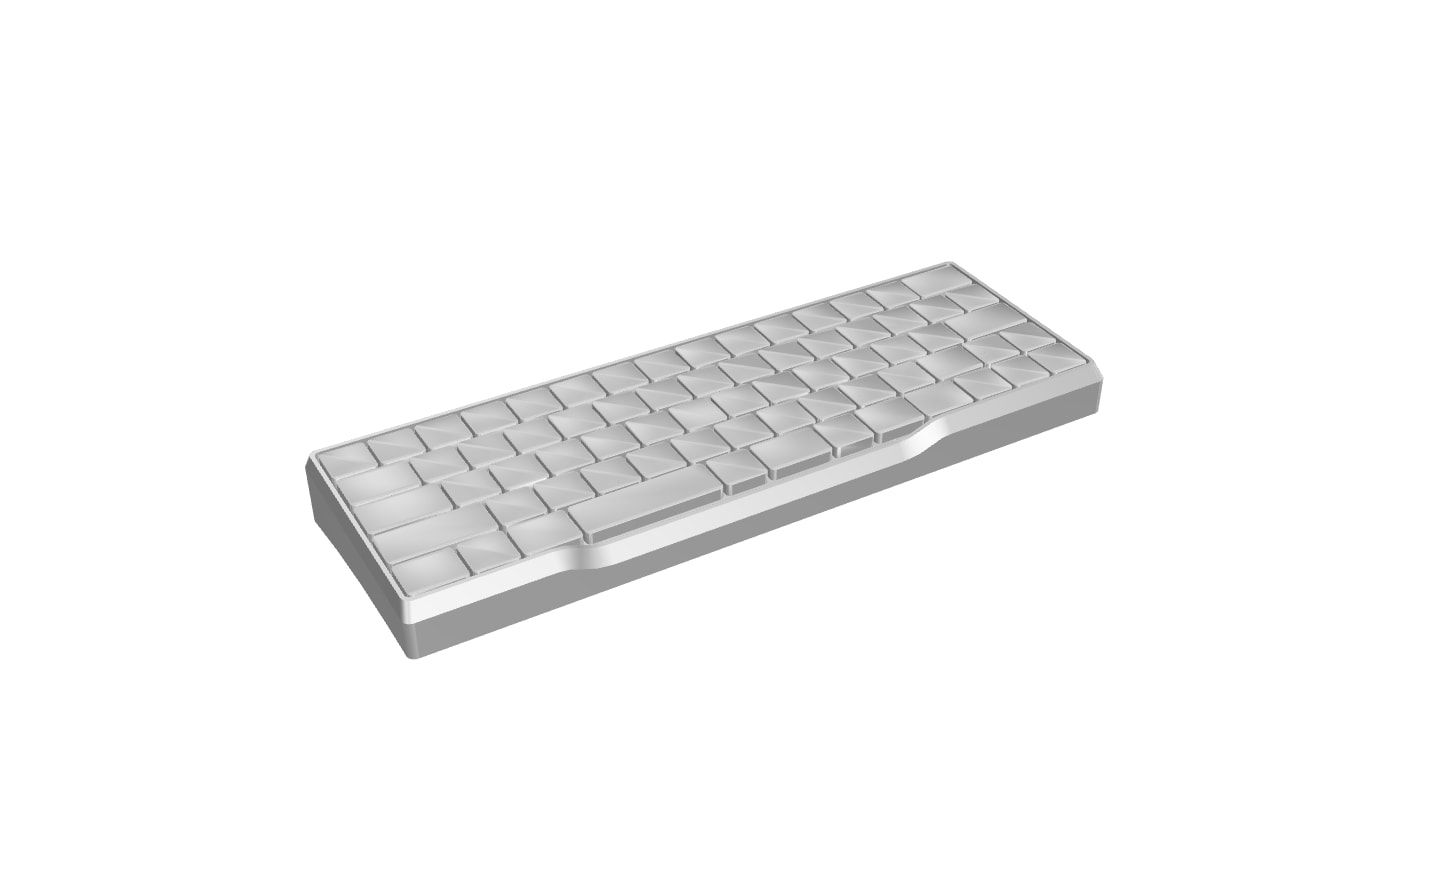
A compact 70-key keyboard designed from scratch: a CNC-milled aluminum unibody case and blank aluminum keycaps, and a custom STM32 PCB with hotswap sockets and per-key RGB, running QMK.
- Tools
- KiCad, Fusion 360 CAD/CAM, CNC milling, STM32, QMK
- Result
- A finished 70-key keyboard with per-key RGB, on the second PCB revision
Overview
I wanted the fast, compact feel of a laptop keyboard with the tactile feel of a mechanical one, so I designed and built this one from scratch: the layout, the PCB, the firmware, and a CNC-milled aluminum case and keycaps.
Build log
May 15–20, 2025
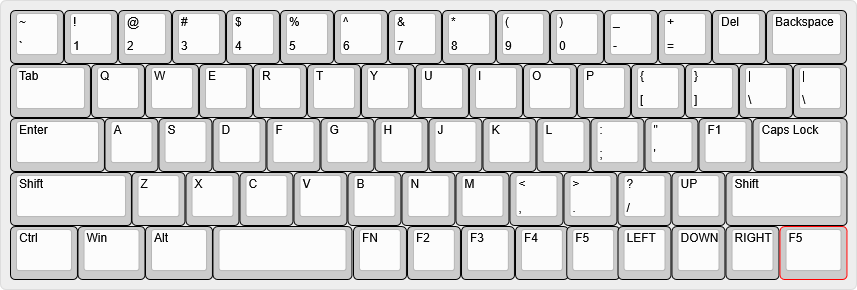
Kickoff and layout planning. Right after my birthday, I decided to build a keyboard from scratch to push my limits before college. I planned the layout, shrinking the space bar to the size of an Enter key, which freed my other thumb for macros and modifiers. After removing the keys I never used, I settled on a compact 70-key layout.
May 21–31, 2025
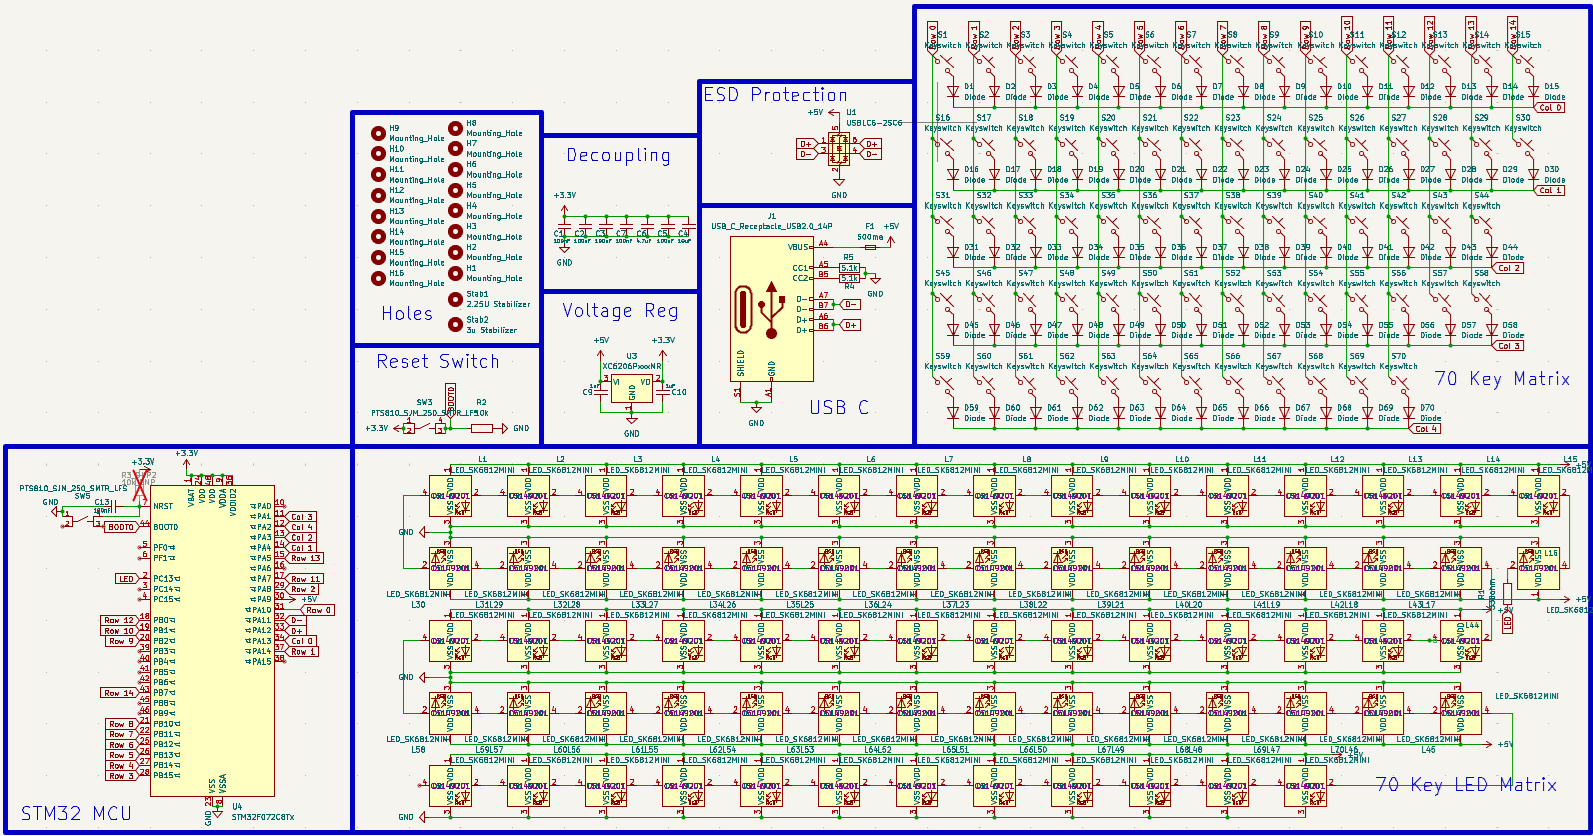
Electronics planning. I defined the electronics: choosing the MCU, per-key RGB LEDs, Cherry MX hotswap sockets, and the USB power strategy, then mapped out the key matrix and the LED chain.
June 1–14, 2025
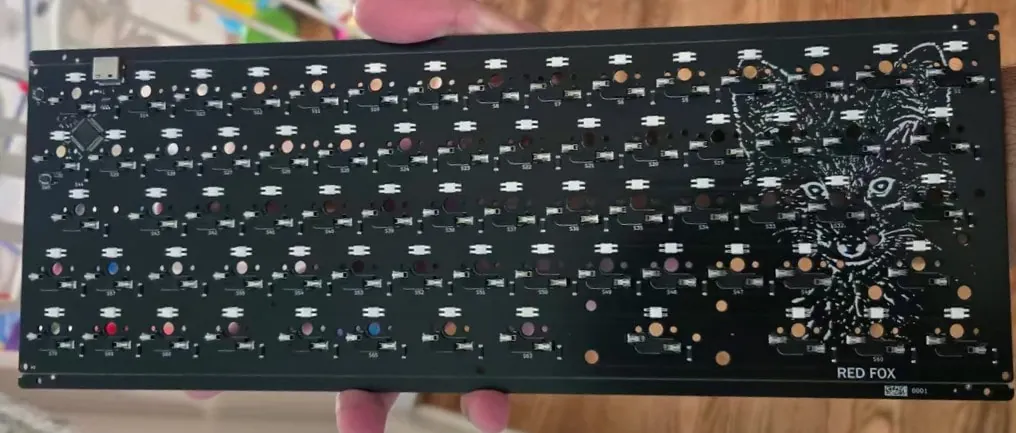
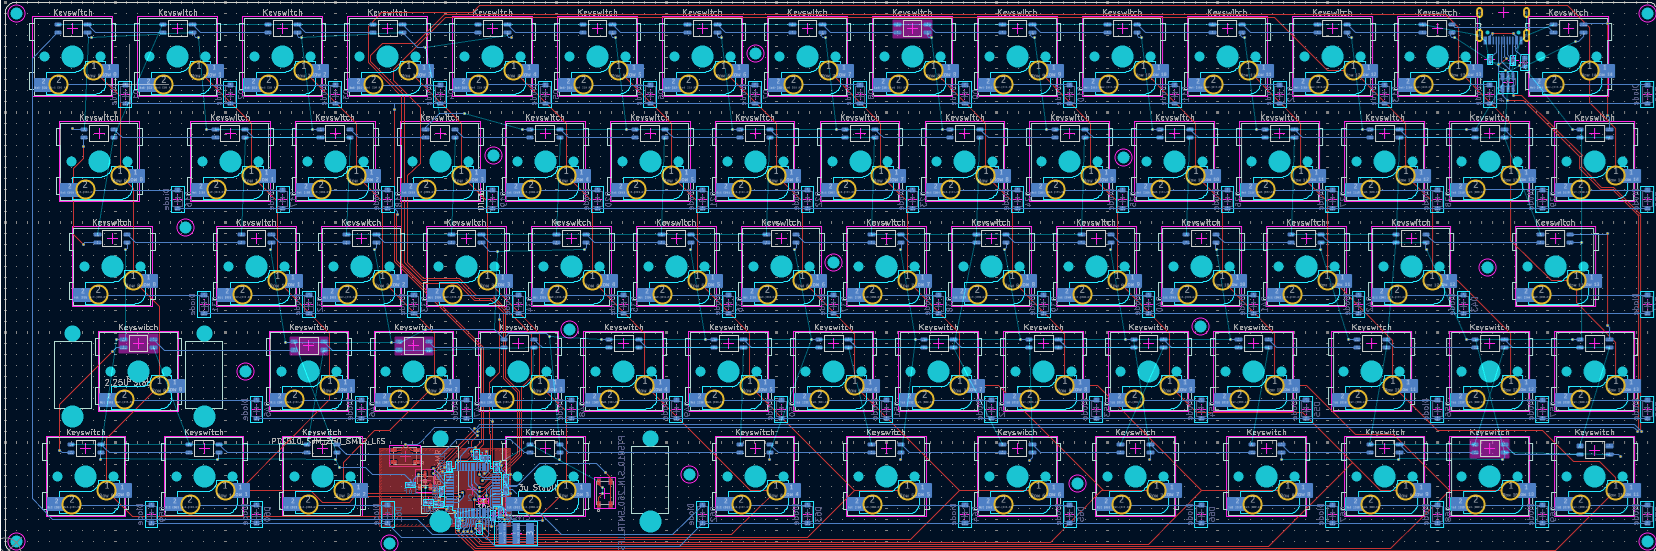
Schematic and PCB v1. I drew the first schematic and routed a 4-layer PCB with every SMD part on the back, putting the MCU and power circuitry under the space bar to keep the board compact.
June 15–22, 2025
Engineering review. Talking it through with electronics engineers, I learned my MCU needed a quartz crystal for USB. Together with a long USB trace from the top-right corner, that risked an unstable connection, so I redesigned the board.
June 23–26, 2025
PCB redesign. I switched to an STM32F072, which runs USB without a crystal, rotated it 45° and placed it under the Backspace key to make the USB trace much shorter, and cut the board to 2 layers to lower the manufacturing cost.
June 27 – July 5, 2025
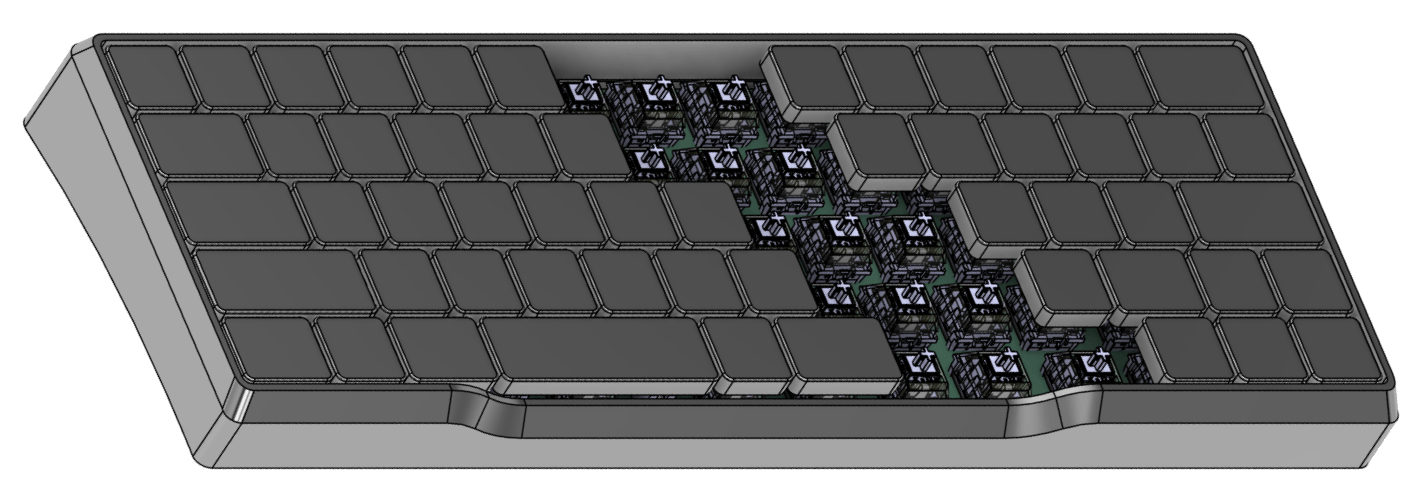
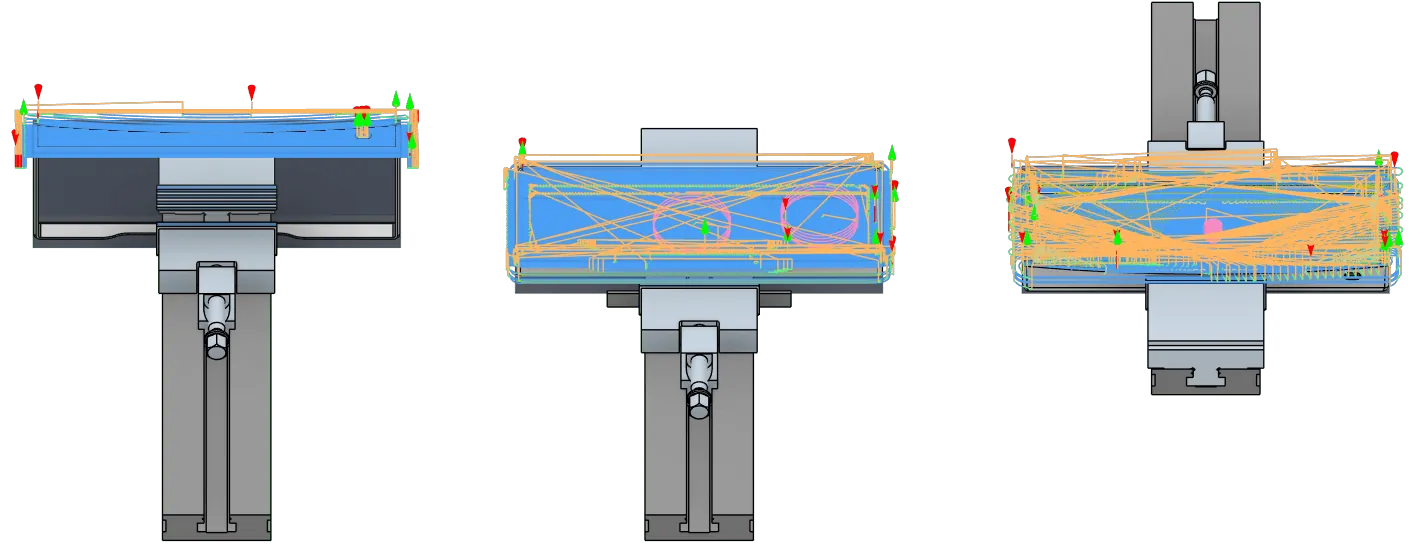
Case and keycap CAD. In Fusion 360 I modeled the unibody aluminum case with tolerances for the switches and USB port, and planned three CNC setups: (1) the USB port and back arch, (2) the top typing surface and switch plate, (3) the cosmetic arches, feet, and screw holes. I also modeled blank keycaps for machining; no legends suited the minimal look, and I didn’t have a laser engraver anyway.
July 6–12, 2025
PCB fabrication and CAM. While JLCPCB manufactured and assembled the board, I programmed the CNC toolpaths for the case and keycaps, learning to tune feeds and speeds, tool changes, and fixturing for the three setups.
July 12–13, 2025
Board bring-up. The PCB arrived fully assembled. I flashed the STM32 with QMK, set up my keymap, and verified the matrix scanning. I also found that the LEDs had been placed backwards, reversing their 5V and GND, which went on the list for the next revision.
July 14–25, 2025
Machining and setbacks. In the first setup the endmill slipped in the collet and cut the switch plate wrong, which took a small redesign of the case and toolpaths. In the third setup, thin walls and too little clamping caused chatter until the part slipped and was damaged. With material delays and bad weather on top of that, machining paused.
August 2025
Finished. I thickened the thin walls and moved every critical feature into the first two setups, then machined the case again, this time cleanly. With the LED orientation fixed, I assembled the finished keyboard: a 70-key aluminum unibody with per-key RGB, running my own QMK keymap.